Add, Edit, and Remove Resources
This guide provides step-by-step instructions for adding, editing, and removing resource entries in the Hurco Backoffice. Managing these entries keeps your website's Resources section up-to-date and relevant.
Adding a Resource Entry
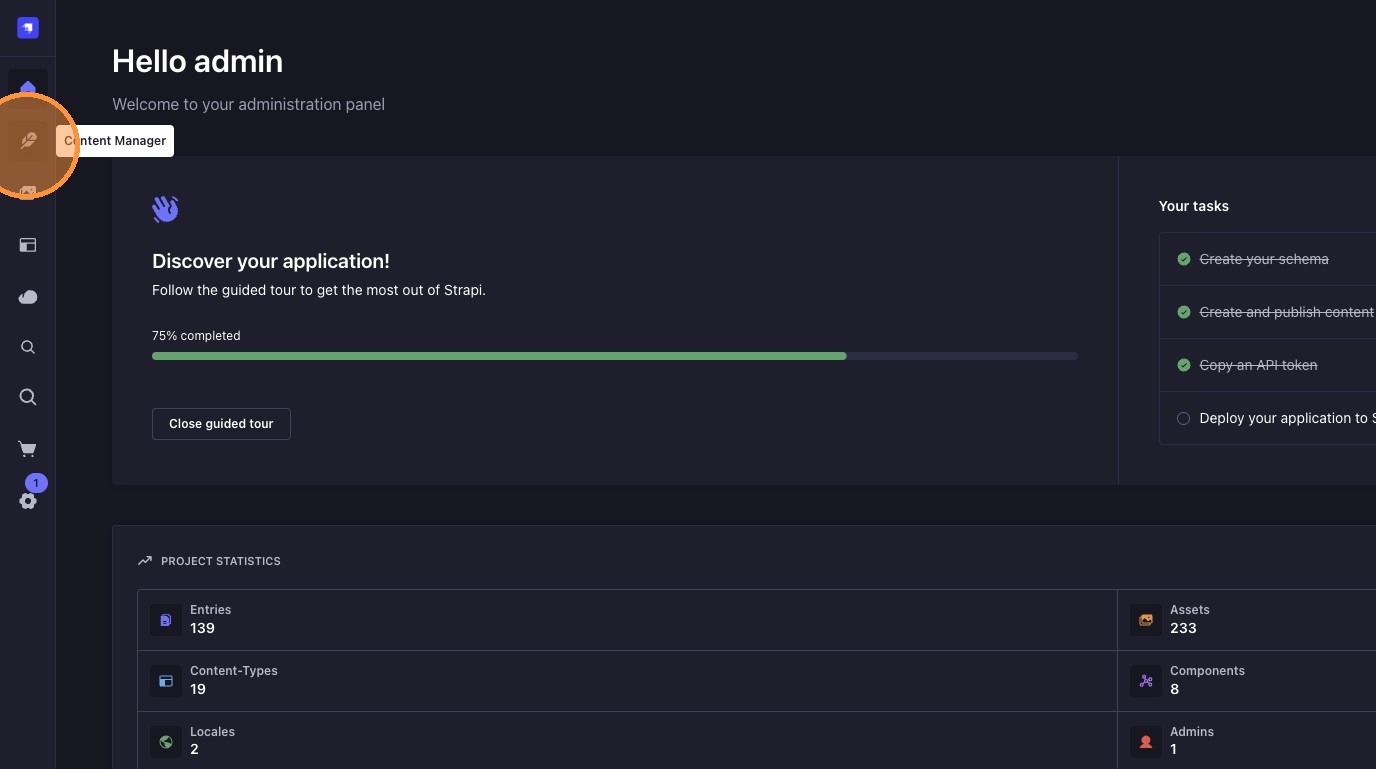
1. Navigate to Content Manager
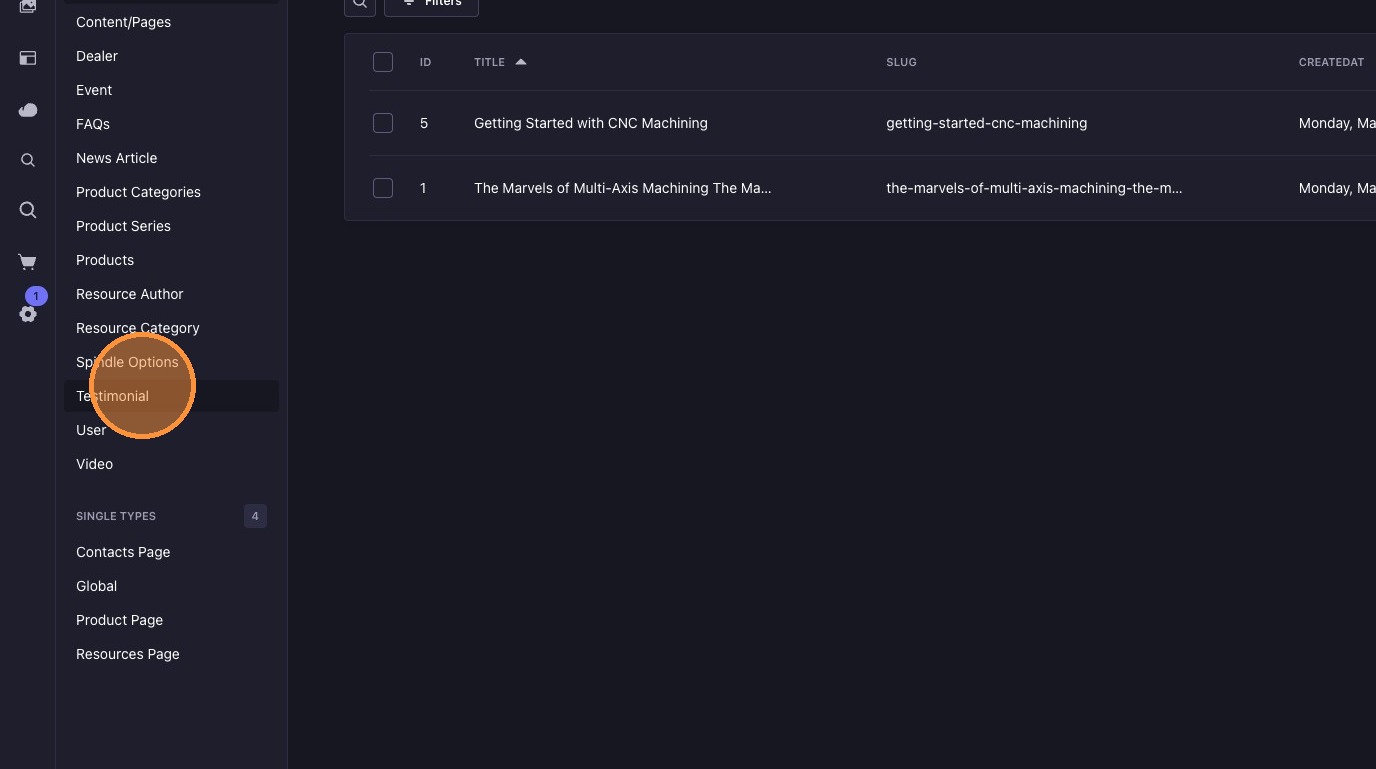
2. Select Resource Type
Click "Testimonial" or any other Resource type you want to add an entry to.
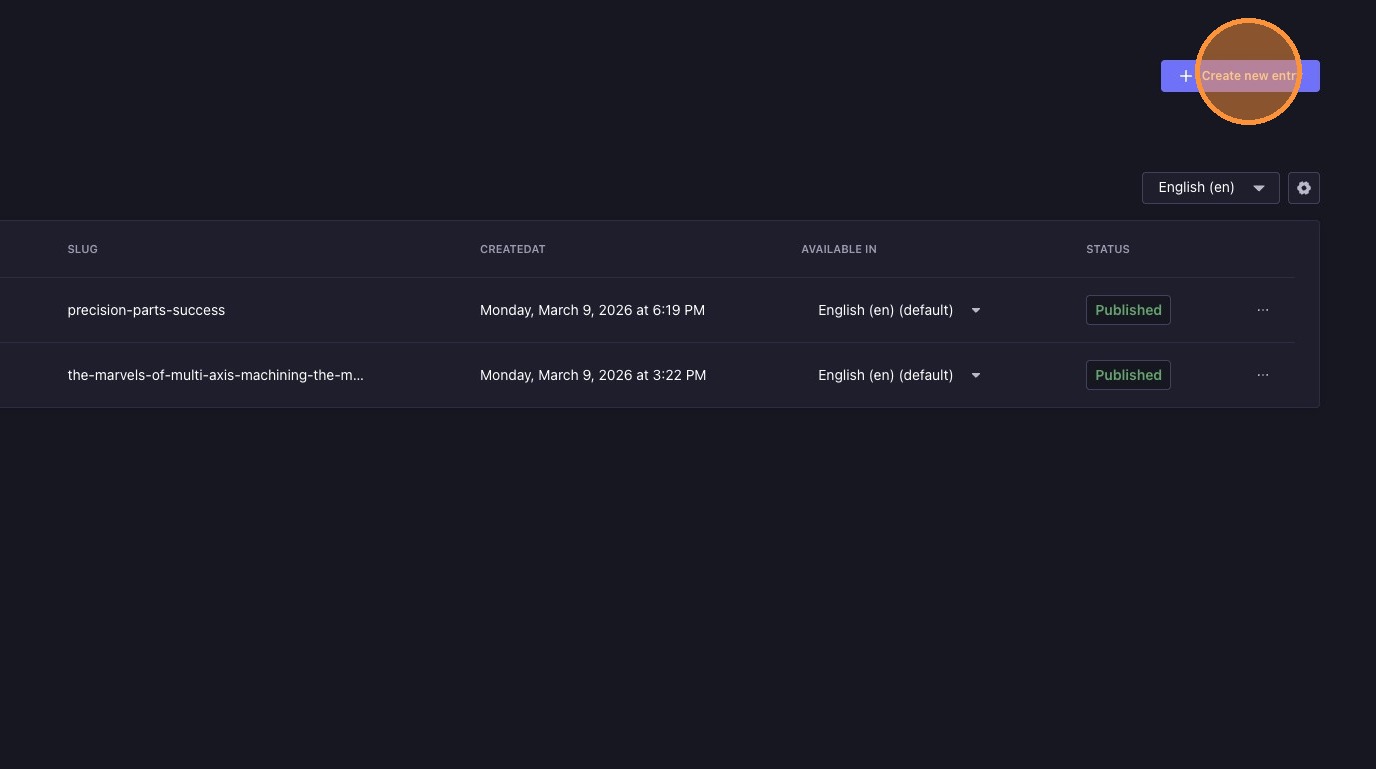
3. Create New Entry
Click "Create new entry".
4. Fill in Resource Details
Complete all required fields for the resource entry, such as:
- Title
- Featured Image
- Category
- Resource Date
- Resource Author
- Resource Text
- Resource Media
- Resource CTA
For details on each field, see Resource Fields Explained.
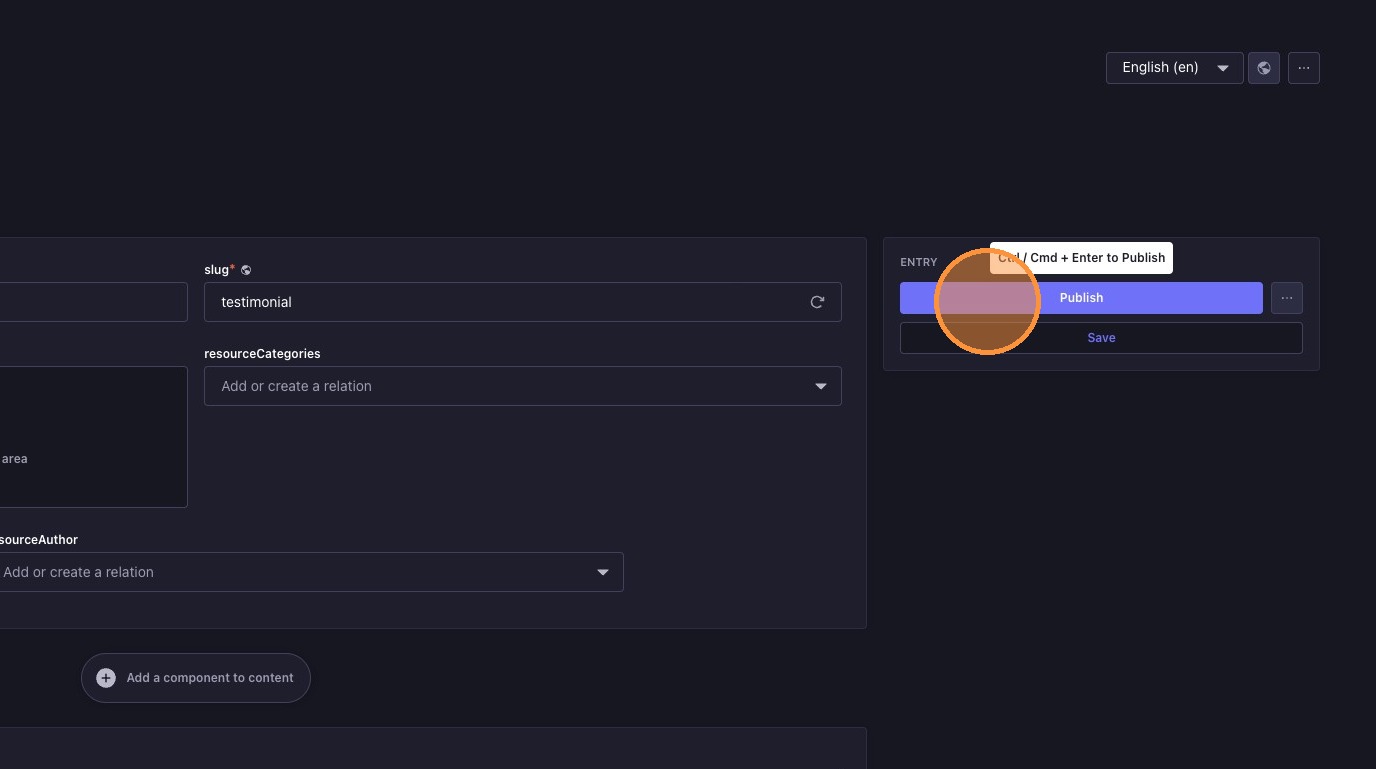
5. Publish or Save
Click "Publish" to make the entry live, or "Save" to keep it as a draft.
Editing a Resource Entry
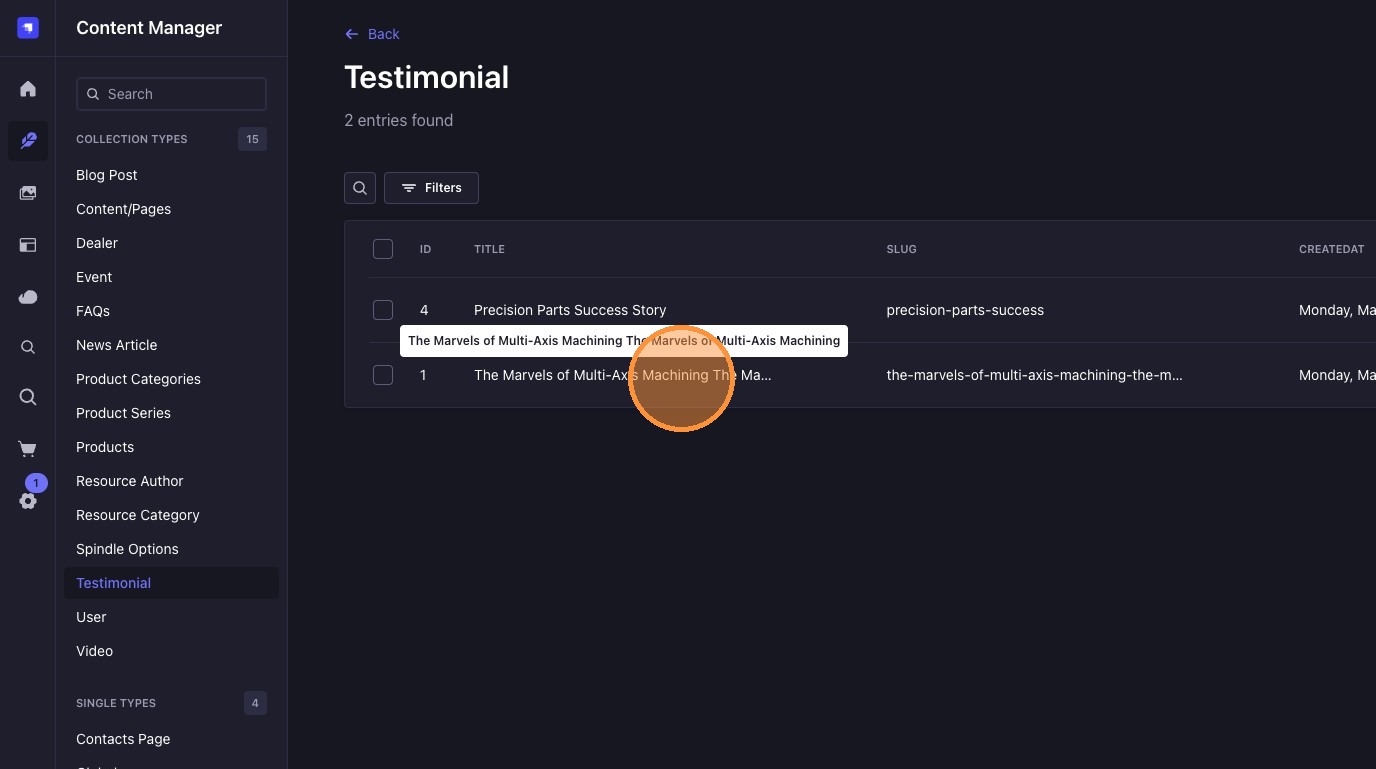
1. Select Entry to Edit
Click the entry you want to edit (e.g., "The Marvels of Multi-Axis Machining").
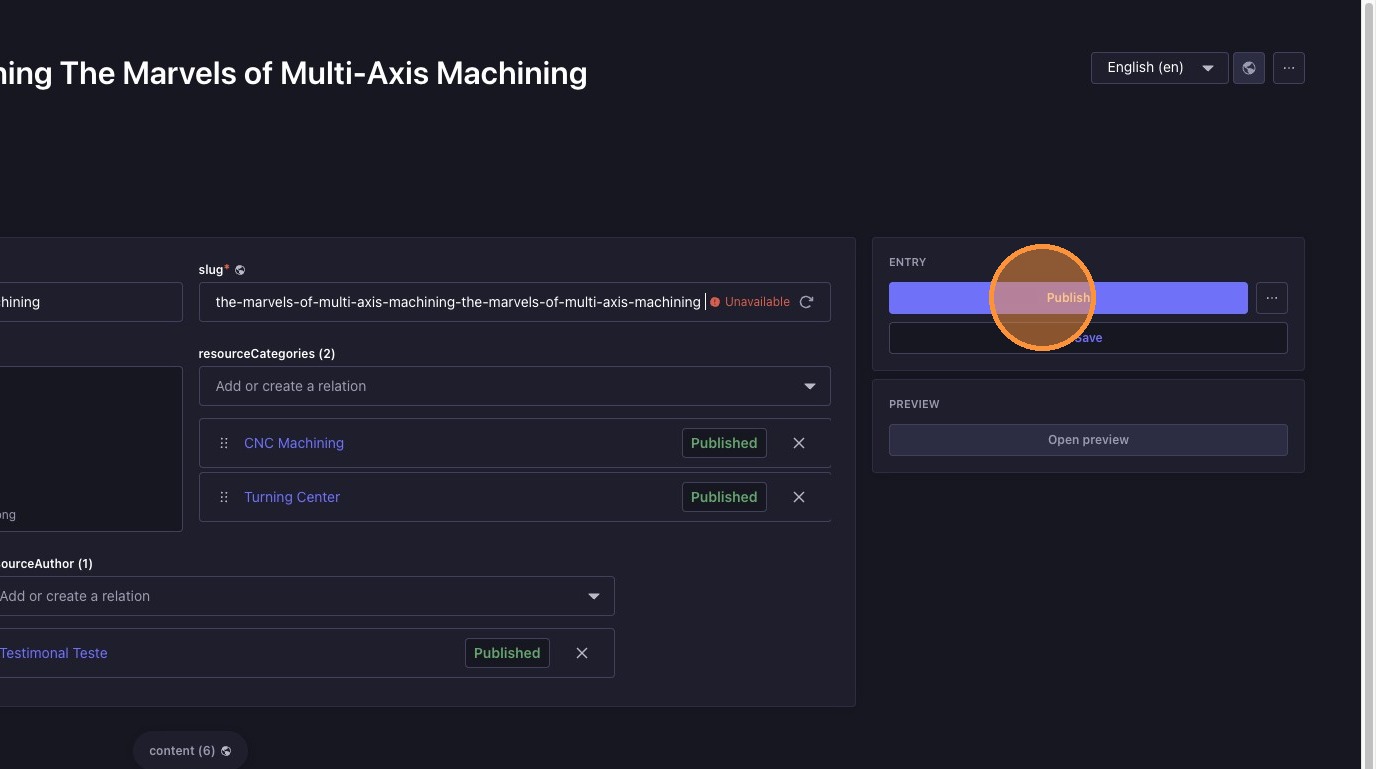
2. Update Fields
Edit the necessary information in the fields.
3. Publish Changes
Click "Publish" to update the entry.
Removing a Resource Entry
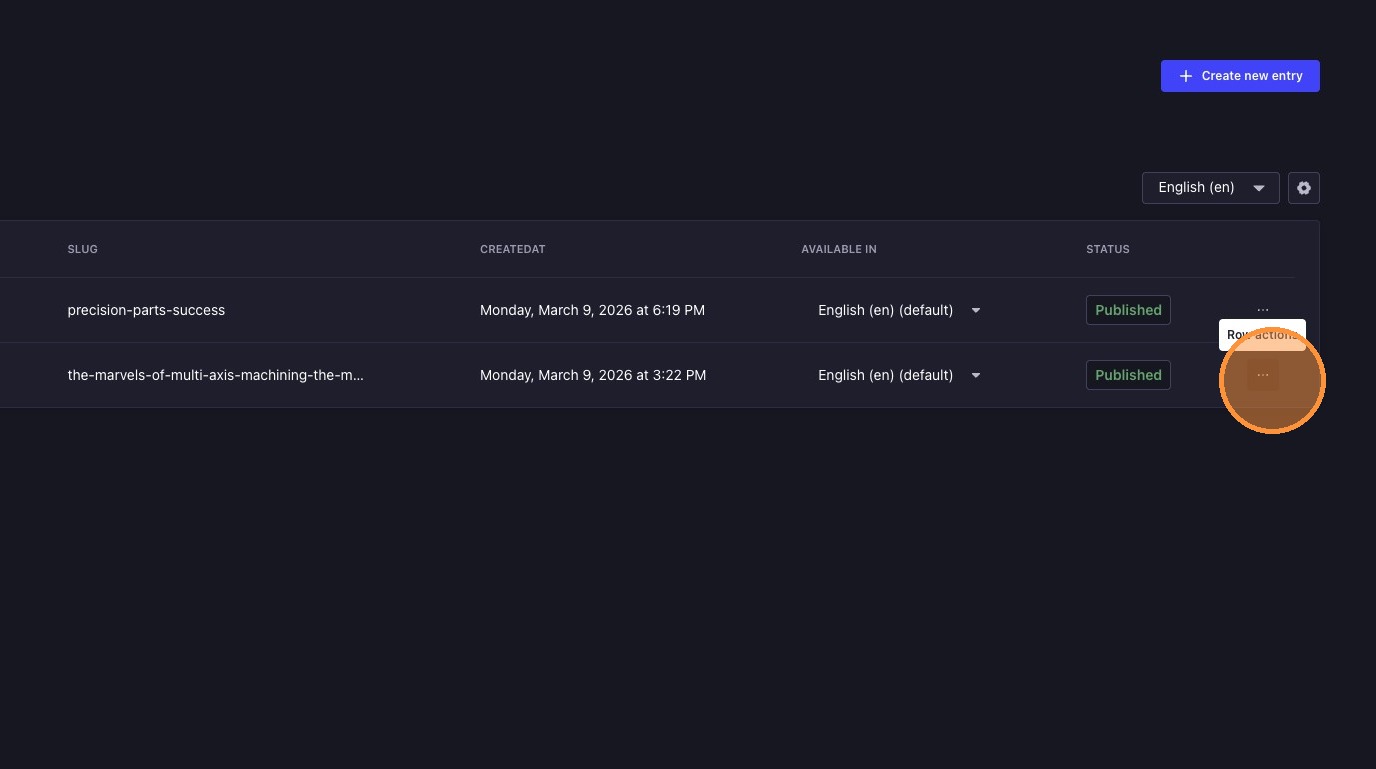
1. Open Options Menu
On the resource entry you want to delete, click the 3 dots icon to open the options menu.
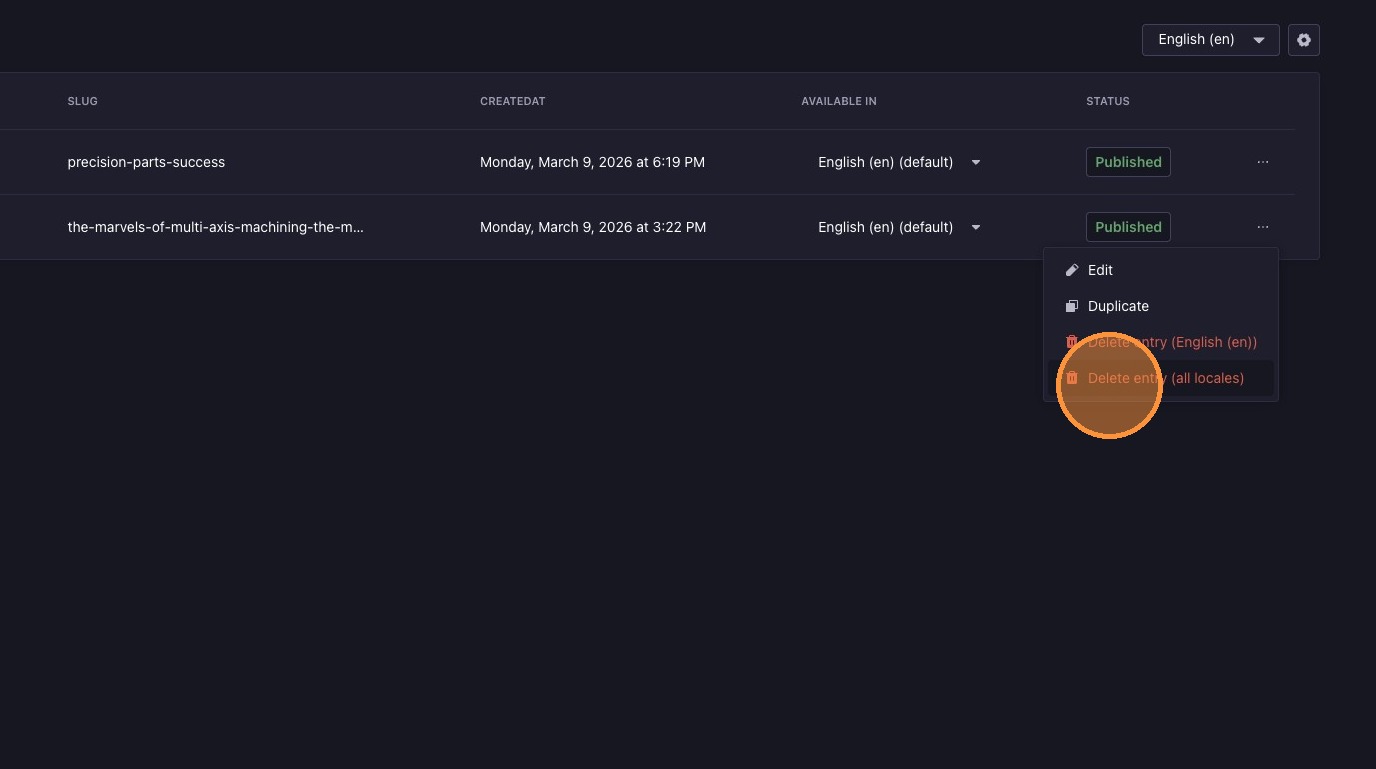
2. Delete Entry
Click "Delete entry (all locales)".
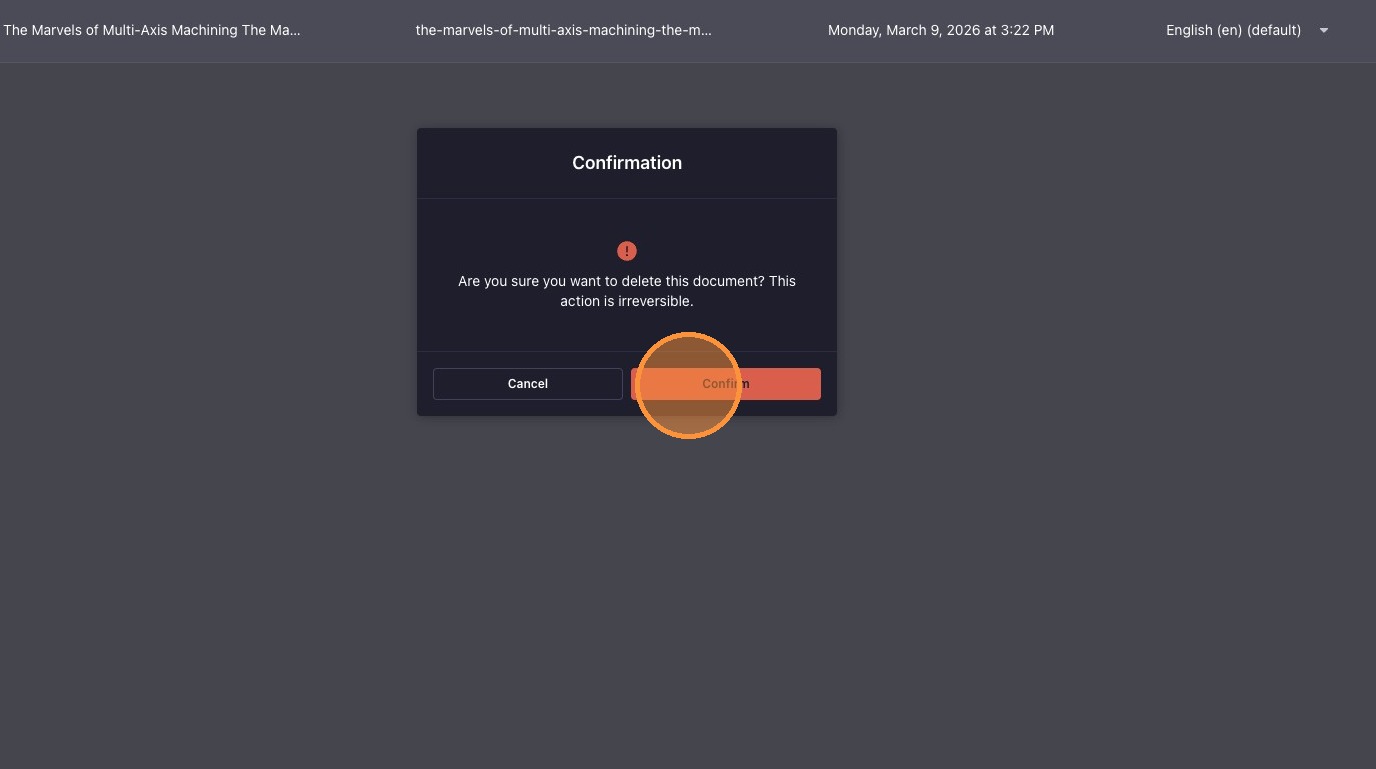
3. Confirm Deletion
Click "Confirm".
- Publishing a new resource entry, or changes to an existing resource entry, will make them live on the website immediately. Saving will keep them as a draft that is not visible to website visitors until published.
- Deleting a resource entry will remove it from the website immediately. Always double-check before deleting. This action cannot be undone.